Creating sites
Sites represent physical locations (branch, headquarters, data center, remote office) or a cloud region where your organization runs USDN-managed infrastructure. Each site can hold devices, tunnels, and related configuration.
Prerequisites
- An active USDN account with permission to manage sites for your organization.
- For on-premises style sites (data center, branch, headquarters, remote): a postal address. The portal can suggest an address with Google Places autocomplete when a Maps key is configured for your environment.
- For cloud sites: the target cloud region from the picker.
- Optional: site description and primary contact name, email, and phone.
Open the create page
- Sign in to the USDN portal.
- Open Sites in the main navigation.
- Click Create New Site (top right of the Sites list).
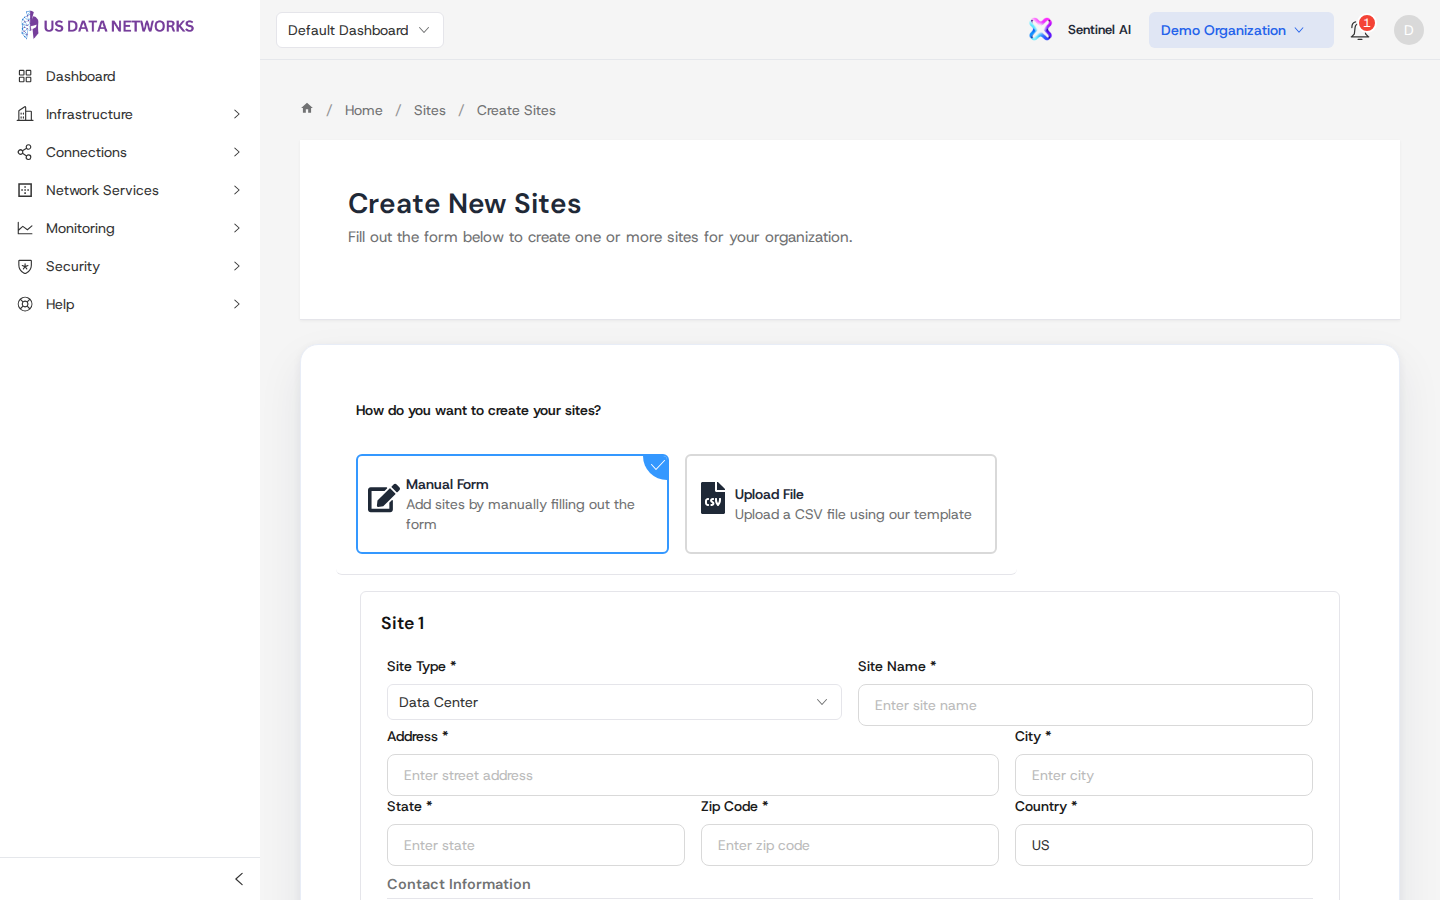
You will land on Create New Sites with a short description and the creation form below.
Choose how to enter sites
First, pick how you want to define sites:
| Option | When to use it |
|---|---|
| Manual Form | Enter one or more sites directly in the portal. |
| Upload File | Import many sites from a CSV file using the provided template. |
CSV import
- Select Upload File.
- Download the template if offered, fill it in, and upload your CSV.
- Review parsed rows before submitting.
Errors from the API are shown in a toast; fix the CSV and try again if validation fails.
Manual form: one or more sites
With Manual Form selected, each block titled Site 1, Site 2, … is one site.
Site type and name
- Site type (required): Data Center, Branch Office, Cloud, Headquarters, or Remote Site.
- Site name (required): must be unique within your organization. Use a clear, stable naming convention (for example
NYC-HQ-01).

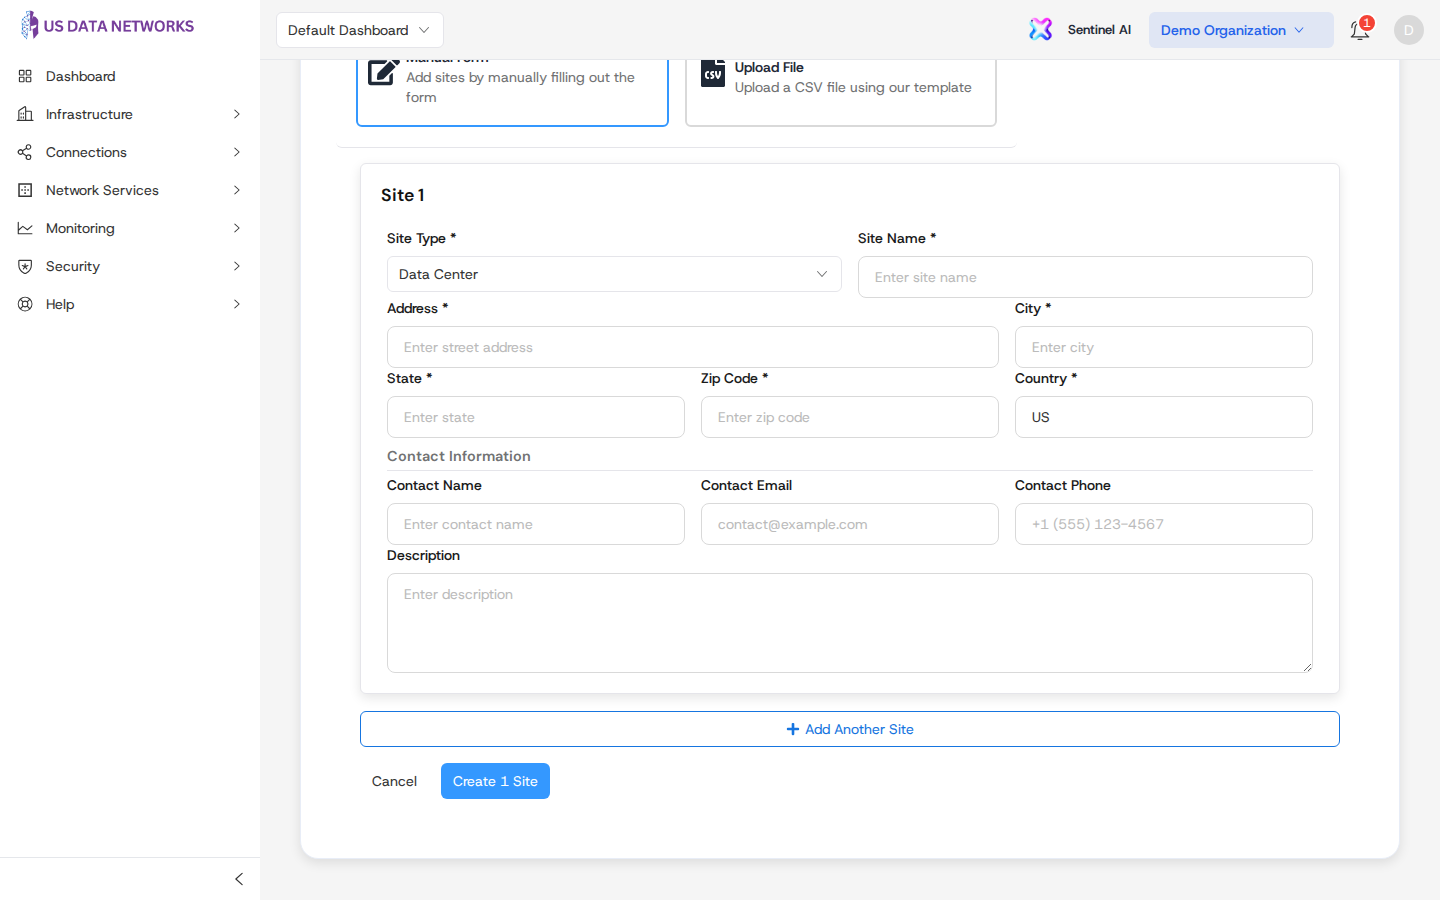
Location and address rules
- Cloud: choose Cloud region (required). Street address fields are not used.
- Data center / branch / headquarters / remote: enter address, city, state, ZIP/postal code, and country (required). Where autocomplete is available, pick an address from the suggestions so latitude and longitude are stored for maps.
Optional details
- Description — free text for operators and support.
- Contact name, contact email, contact phone — shown on the site record and used for operational communication.
Multiple sites in one submission
Use Add site (or the equivalent control) to append another Site N panel. Remove an extra panel with the trash icon on that site’s header when you have more than one row.
Submit
Scroll to the bottom of the form and click Create 1 Site or Create N Sites (label reflects how many site panels you have). On success you are returned to the Sites list and a confirmation toast appears.
If creation fails, read the error message: common causes are duplicate names, missing required fields for the chosen type, or invalid phone/email format.
Best practices
- Keep names unique and aligned with your IT naming standards.
- Keep contact and address data current after moves or provider changes.
- Prefer CSV for large rollouts; use Manual Form for one-off sites.
Related guides
- Managing sites — list, filters, open a site, edit, delete
- Organization setup — org context before scaling sites
Need help?
See Support & Escalation or your customer success contact.