Whitelist wizard (Add Whitelist Entry)
The Add Whitelist Entry flow is a three-step wizard at /whitelists/create. It collects device identity, optional interface mapping (with a device-type diagram), and a review screen before calling the API. The same UI pattern is used when editing an existing whitelist from the detail page (Edit).
Open the wizard from Whitelists → Add Whitelist Entry in the header (see Managing device whitelists).
Step 1: Device Information
The stepper labels this Device Information — “Enter basic device details and configuration options.”
You must provide:
- Site — where the appliance will attach; drives org/site scope for the entry.
- Serial number — letters and numbers only (no spaces or symbols), minimum length enforced by validation. The field normalizes input to uppercase as you type.
- Environment — production, staging, development, QA, or DR.
Optional toggles:
- Enable DHCP (LAN Ports) — DHCP behavior for LAN-facing ports when applicable.
- Enable IDS/IPS Inspection — security inspection toggle for the entry.
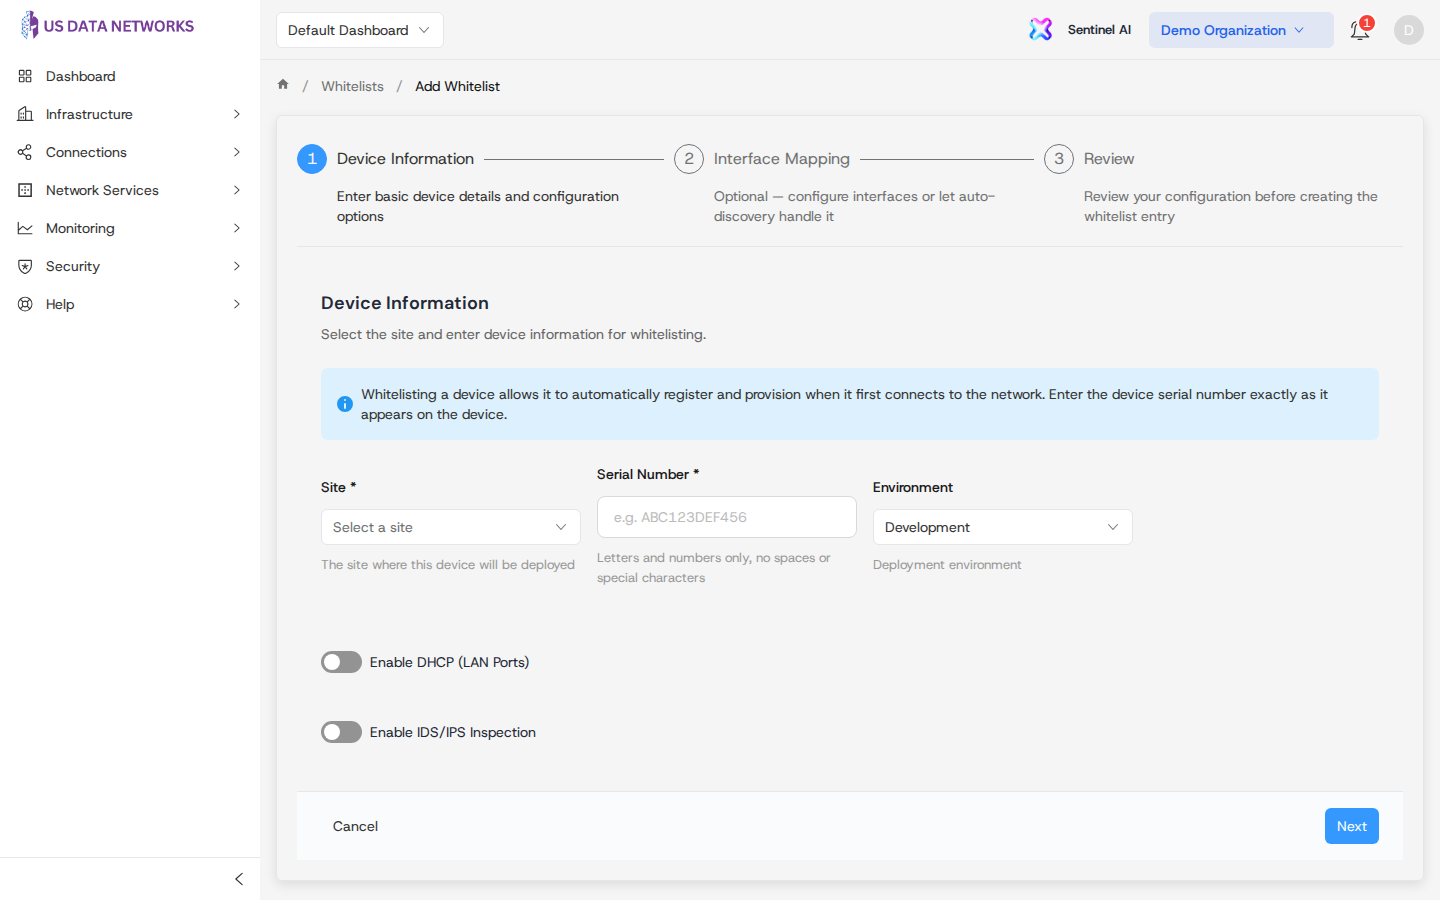
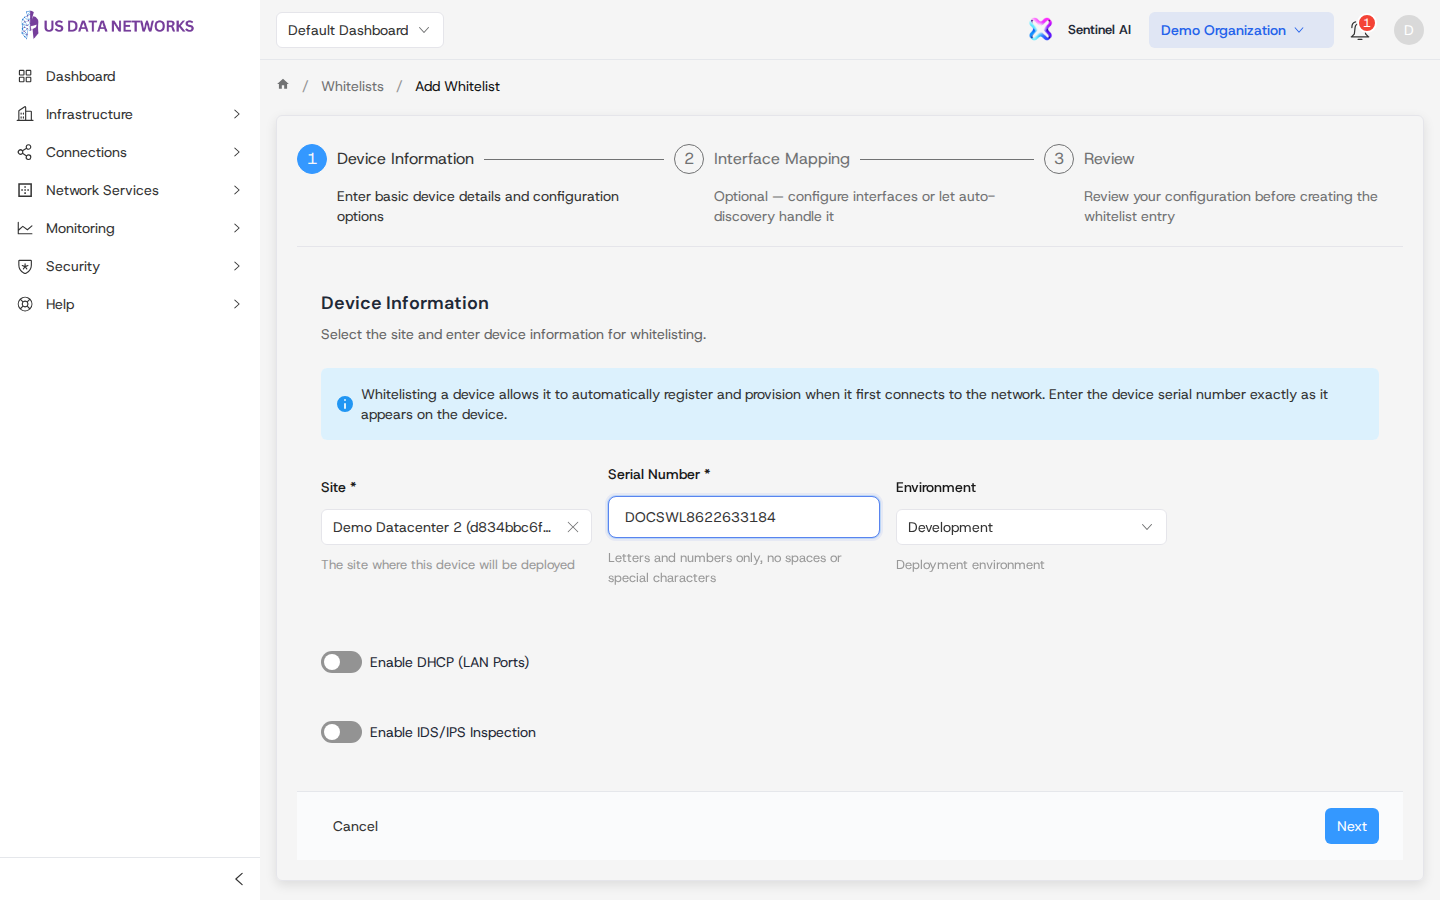
Choose Next when validation passes. If required fields are missing, the portal surfaces a validation message listing what to fix.
Step 2: Interface Mapping
This step is labeled Interface Mapping — “Optional — configure interfaces or let auto-discovery handle it.”
- Pick Device type (Dell VEP1425 or Dell VEP4600) to show the correct port diagram.
- Click ports on the diagram to add interface mappings (name, PCI address, LAN vs WAN, DHCP vs static, and static IP fields when needed). You can remove mappings before continuing.
- If you add no interfaces, the backend can still auto-discover interfaces when the device registers.
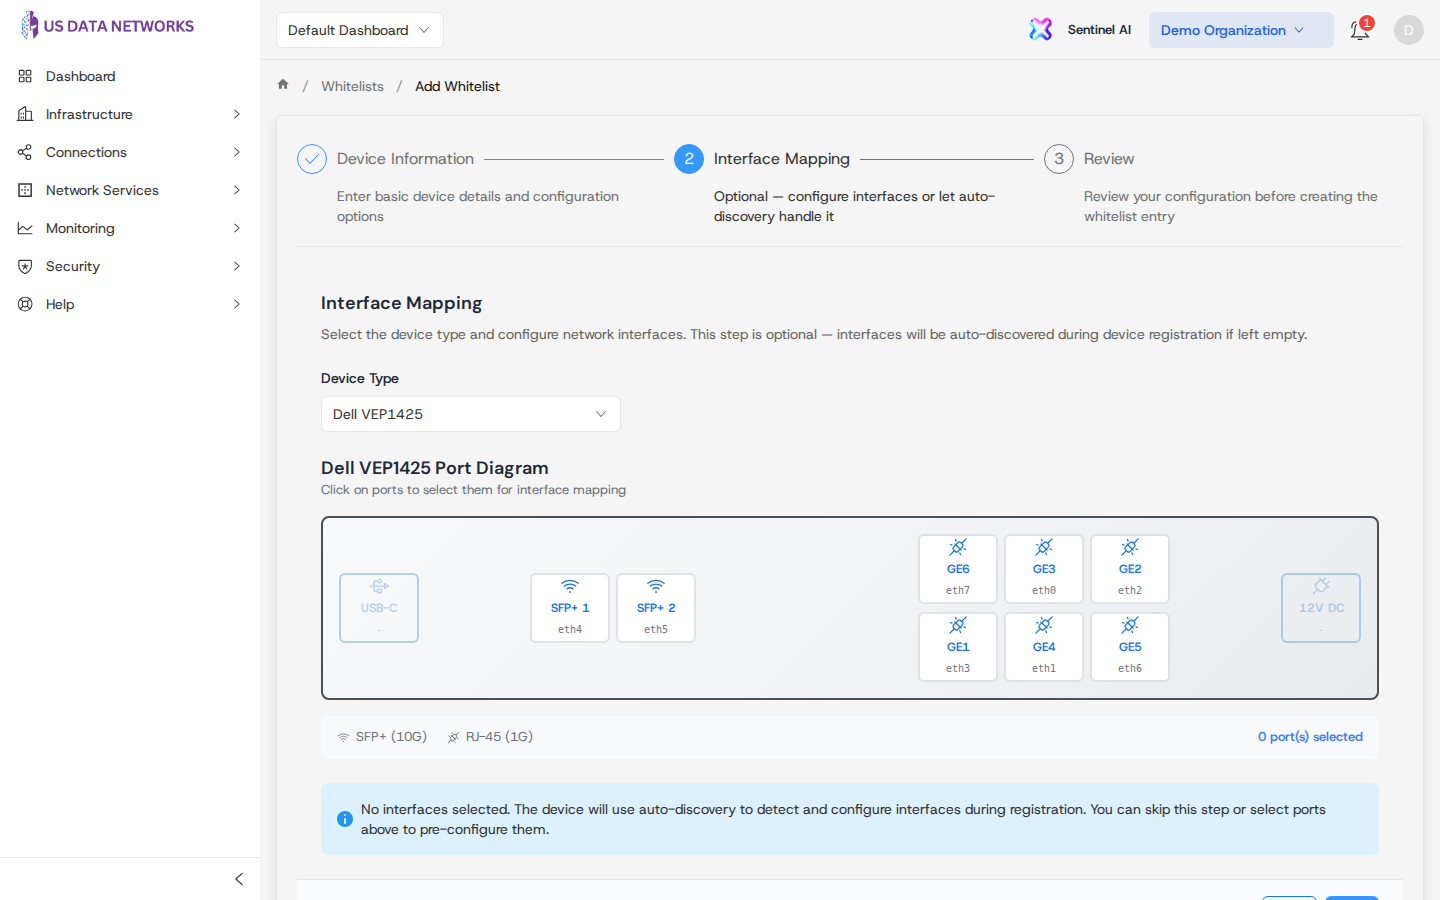
Next runs step validation (for example, if you partially fill an interface, required fields for that mapping must be complete). Leaving the mapping list empty is valid.
Step 3: Review
Review Configuration summarizes site, serial, environment, device type, toggles, and any interface mappings. Use the edit icons on each panel to jump back to an earlier step if something looks wrong.
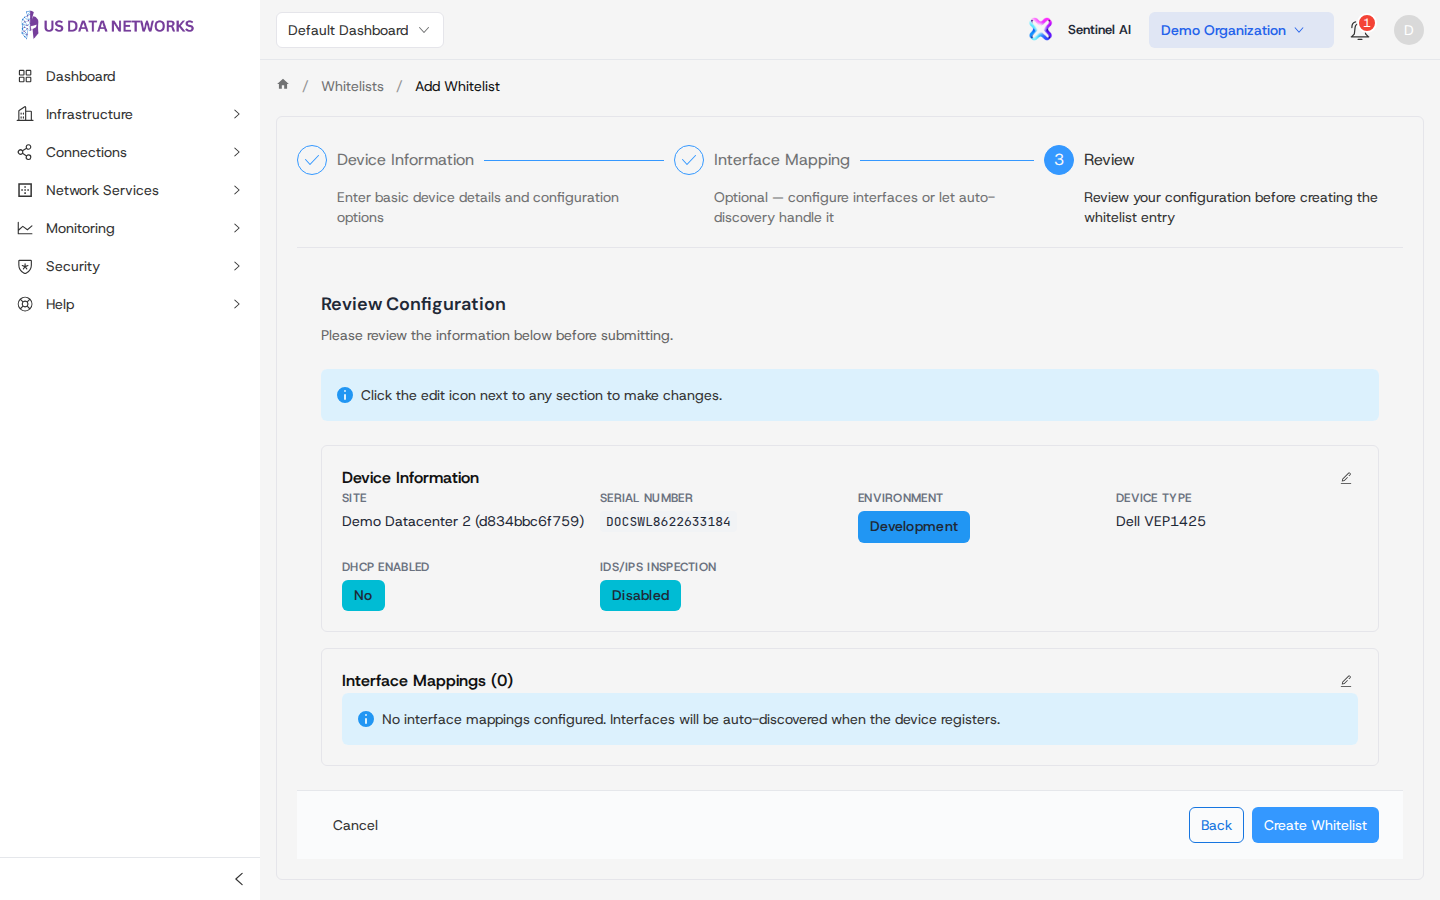
- Create Whitelist — submits the payload and returns you to Whitelists on success.
- Save Changes — appears in edit mode instead of Create Whitelist.
- Cancel — exits to the list without saving (create mode).
- Back — moves to the previous wizard step.
Edit mode
From a whitelist detail page, Edit loads this wizard with existing API data. Device type defaults may be applied when older records did not store a hardware SKU; adjust mappings carefully before saving.
Related guides
- Managing device whitelists — list filters, bulk CSV, detail view, and row actions.
- Cloud provider integrations — broader context when you are mixing cloud and on-prem onboarding.