Managing device whitelists
Device whitelists pre-authorize on-prem (“metal”) appliances so they can auto-register and provision when they first connect. Use this page for the Whitelists list, bulk CSV import, opening a whitelist detail view, and edit or delete actions.
The portal banner on this page states that whitelists are for metal devices only. For cloud instances, use Cloud Registrations (/registration-tokens in the app) instead of this list.
Whitelists list
Open Whitelists from the main navigation. The header shows Device Whitelists with:
- Bulk Entry — opens the CSV-based bulk upload flow.
- Add Whitelist Entry — opens the full whitelist wizard (recommended for one-off entries).
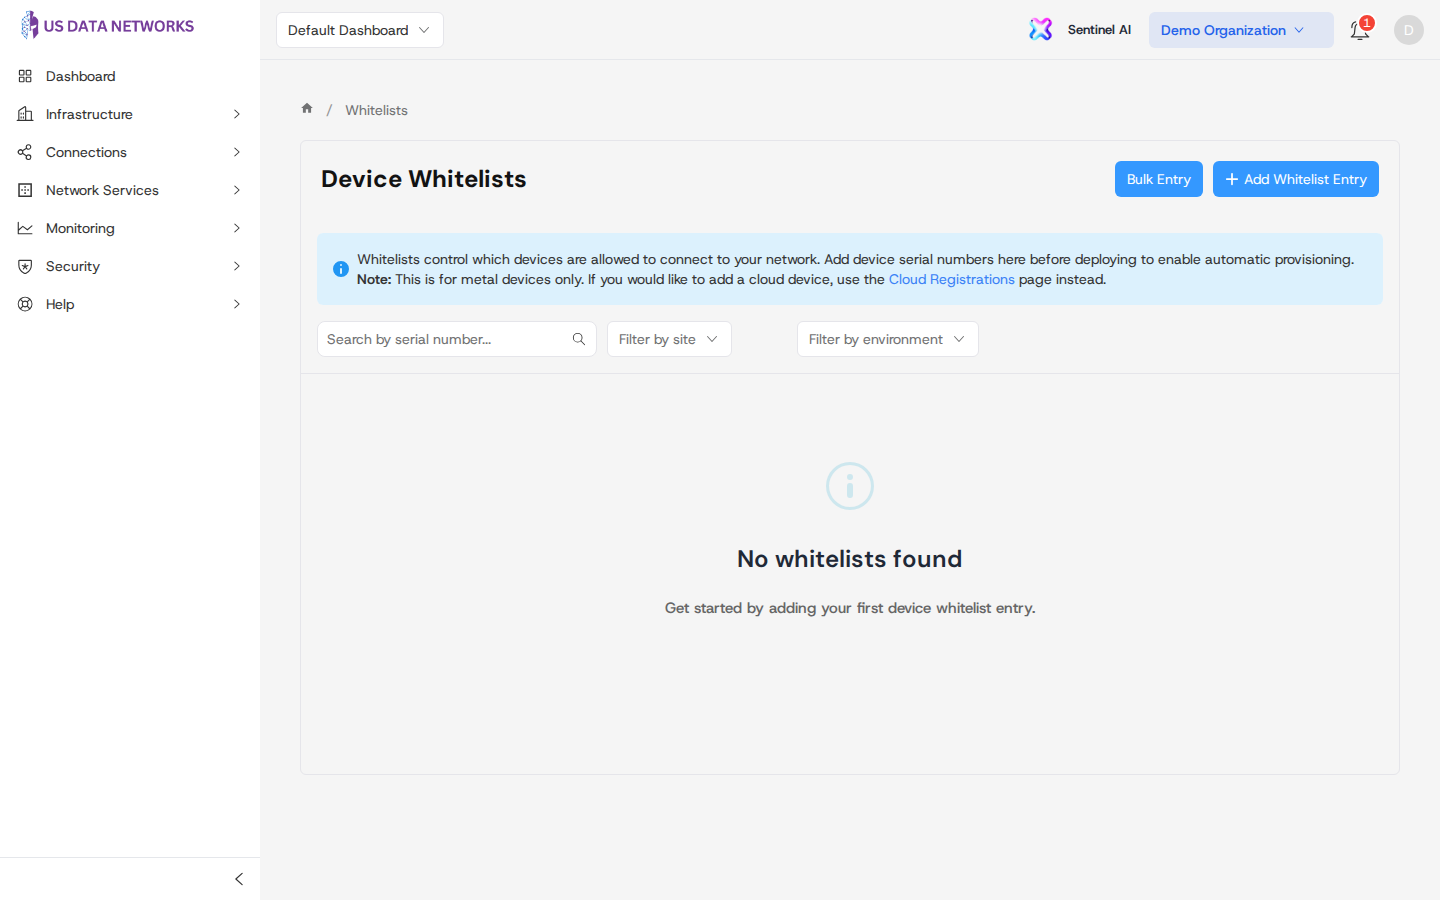
Below the info message, the toolbar includes:
- Search — match serial number text.
- Filter by site — limit rows to one site.
- Filter by environment — production, staging, development, QA, or DR.
- Clear filters — appears when any filter is active.
The table shows serial number, hostname, site, environment, DHCP / IDS-IPS flags, created time, and Actions. Click a row to open the read-only detail page for that entry.
Bulk Entry (CSV)
Click Bulk Entry to open Bulk Entry Upload. The dialog documents required columns (serial_number, site) and optional WAN, LAN, and metadata columns (device_name, customer, device_type, notes). After you choose a CSV, the flow can move to a preview step before rows are submitted to the API.
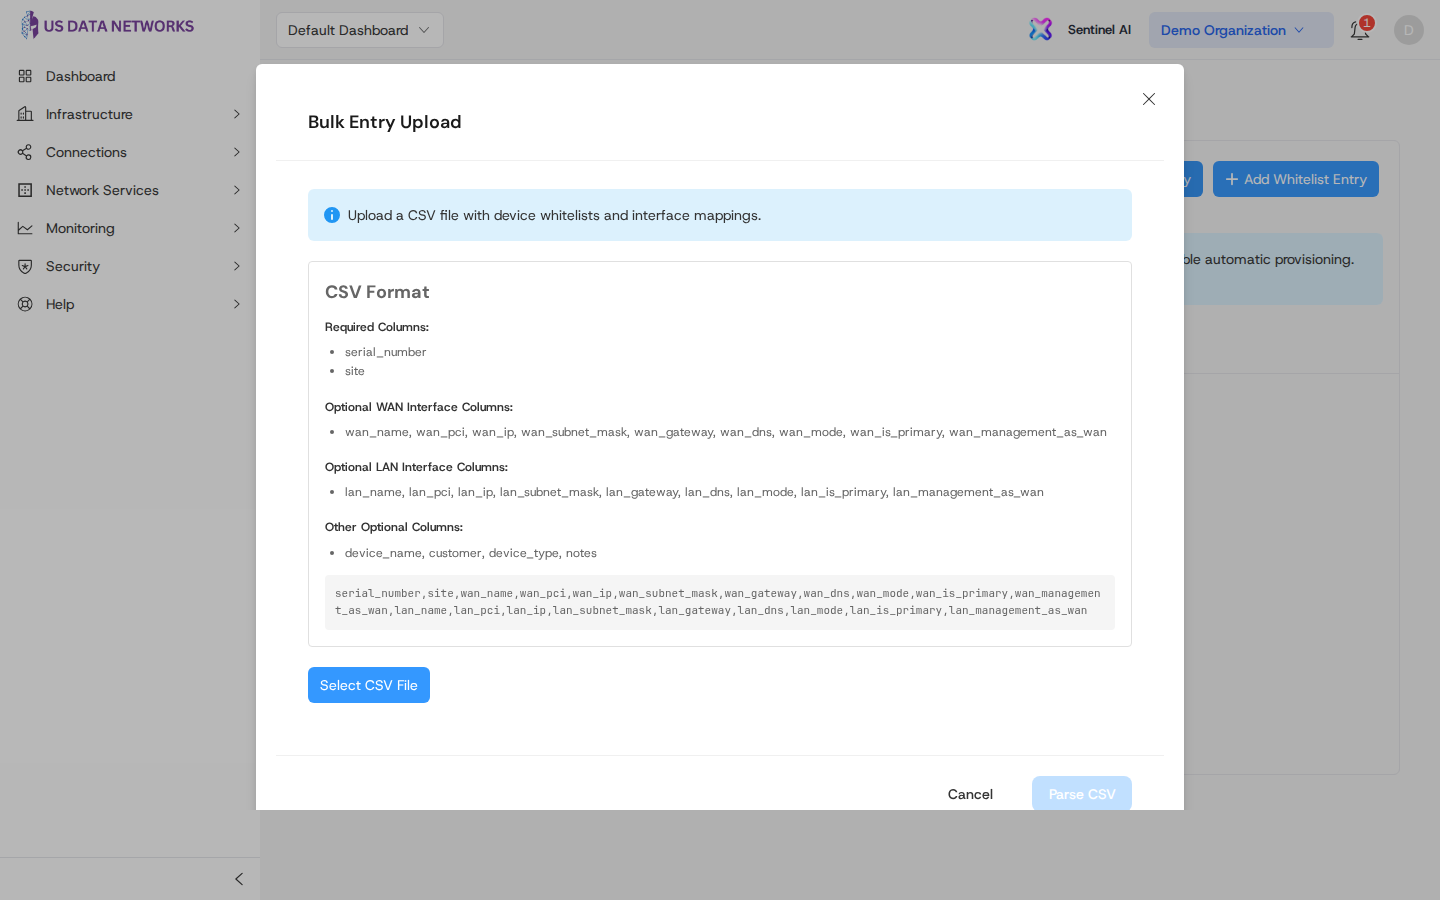
Use Cancel to close without importing. Large imports should be validated in a lower environment first when your process allows it.
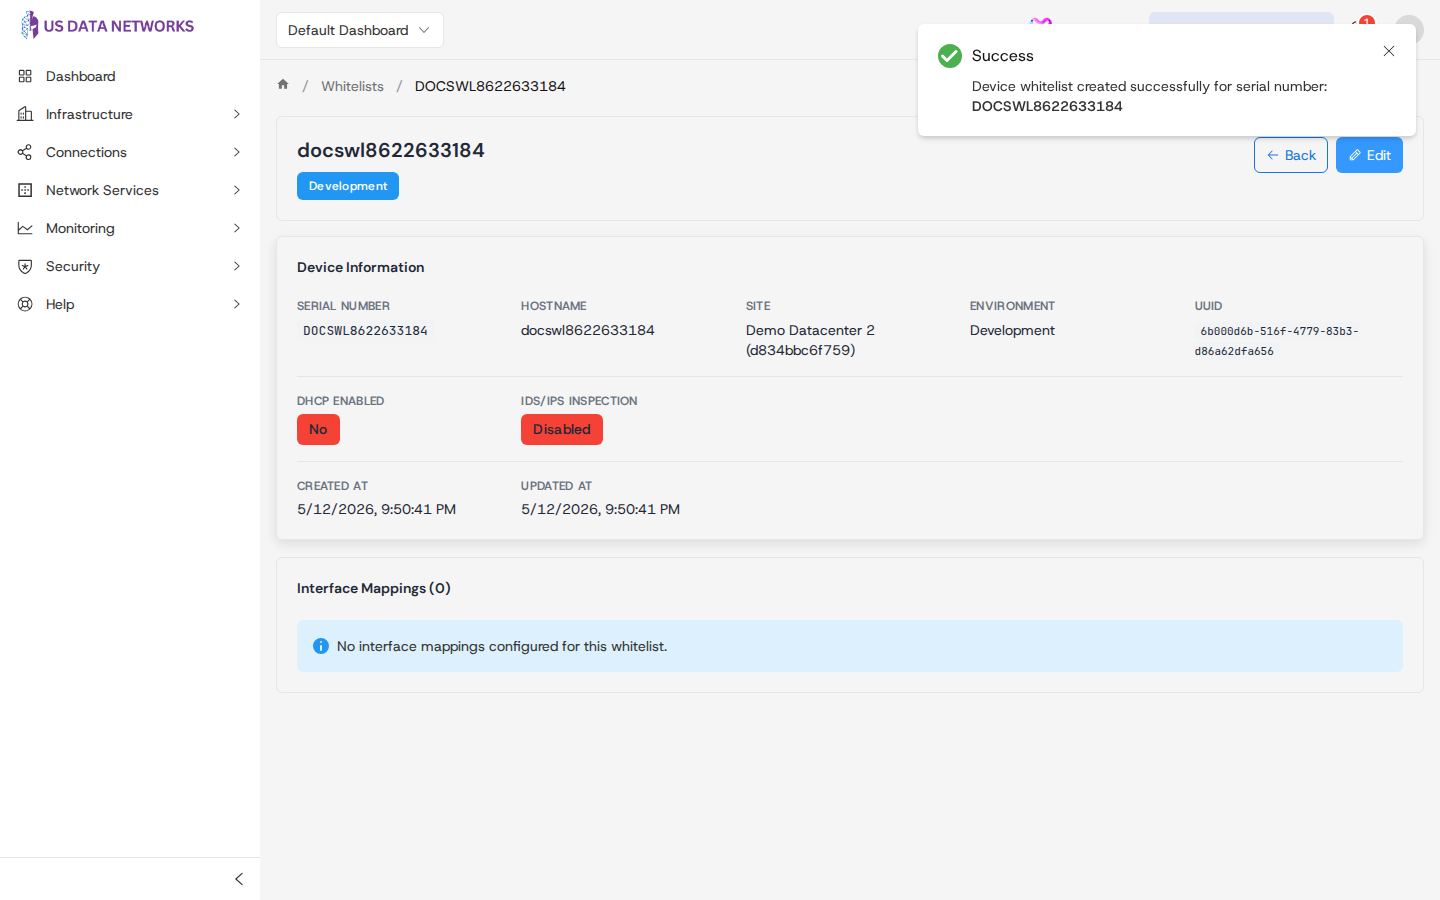
Whitelist detail
From the list, click a row to open the detail page. You will see device information (serial, hostname, site, environment, UUID), feature flags, and an interface mappings table when mappings exist. Back returns to the list; Edit opens the same wizard in edit mode with existing values loaded.
Edit or delete from the list
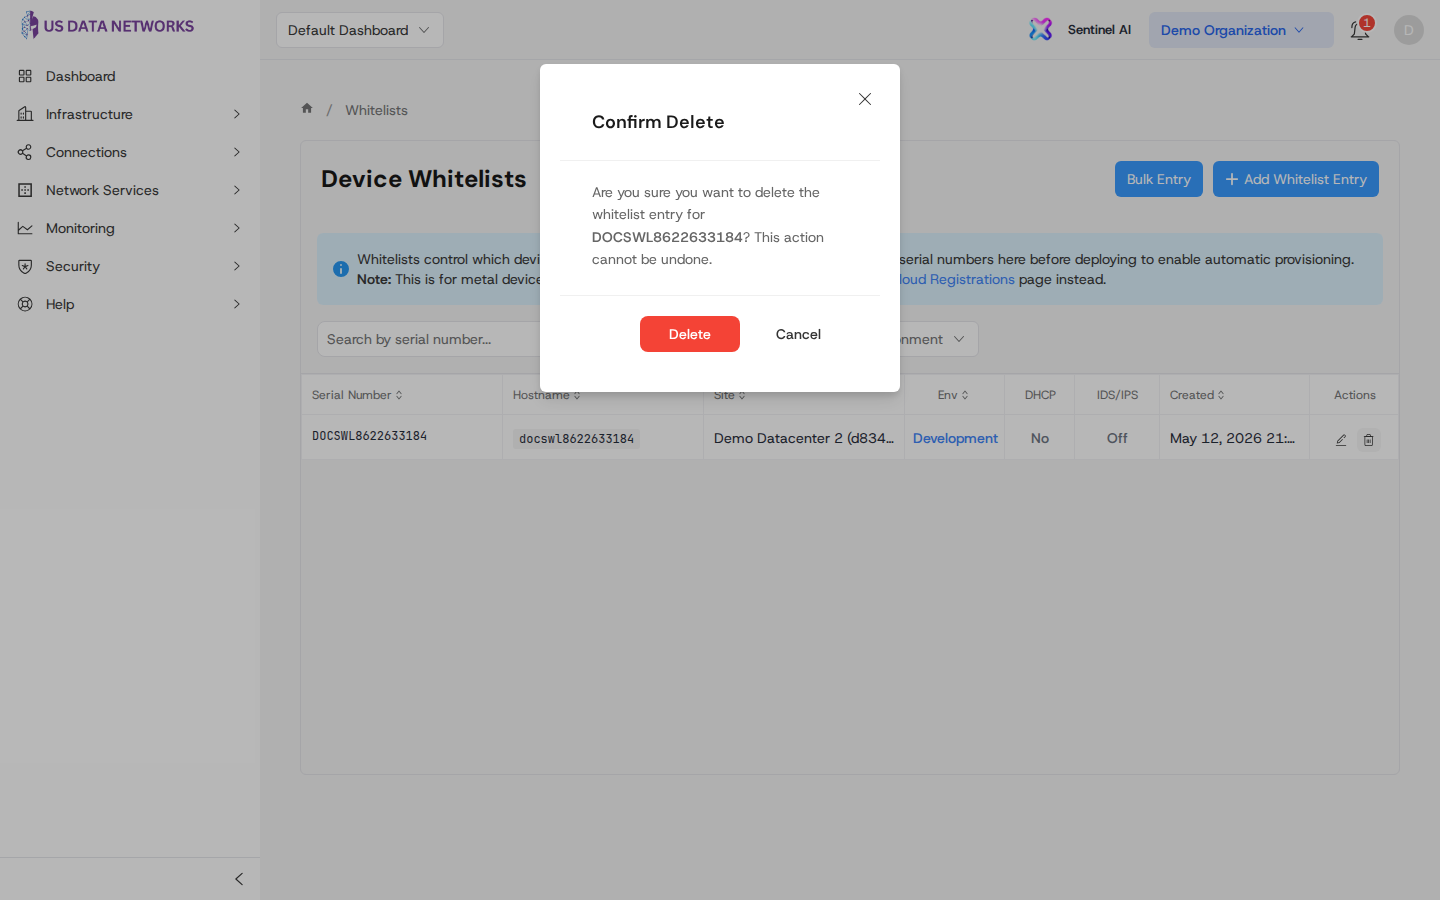
- Edit — click the pencil icon in Actions for a row. You are taken to
/whitelists/:id/edit, which reuses the Device Information → Interface Mapping → Review wizard (wizard guide) with Save Changes on the last step instead of Create Whitelist. - Delete — click the trash icon. Confirm in the dialog, or choose Cancel to keep the entry.
Related guides
- Whitelist wizard — step-by-step Add Whitelist Entry flow and what each step validates.
- Registering a device — how physical devices relate to whitelisting before they appear under Devices.