Registering a device in the portal
Use Create New Device in the header on the Devices page (route /devices/create) to walk through registering a device against a site. The wizard adapts based on whether the site is cloud or physical (headquarters, branch, data center, remote, and so on).
Wizard overview
The steps shown at the top of the page are:
- Select Site — pick where the device belongs; device category follows the site’s type.
- Device Configuration — only for cloud sites — cloud provider and bootstrap token options.
- Instructions — next steps: user-data / bootstrap details for cloud, or physical provisioning guidance for other site types.

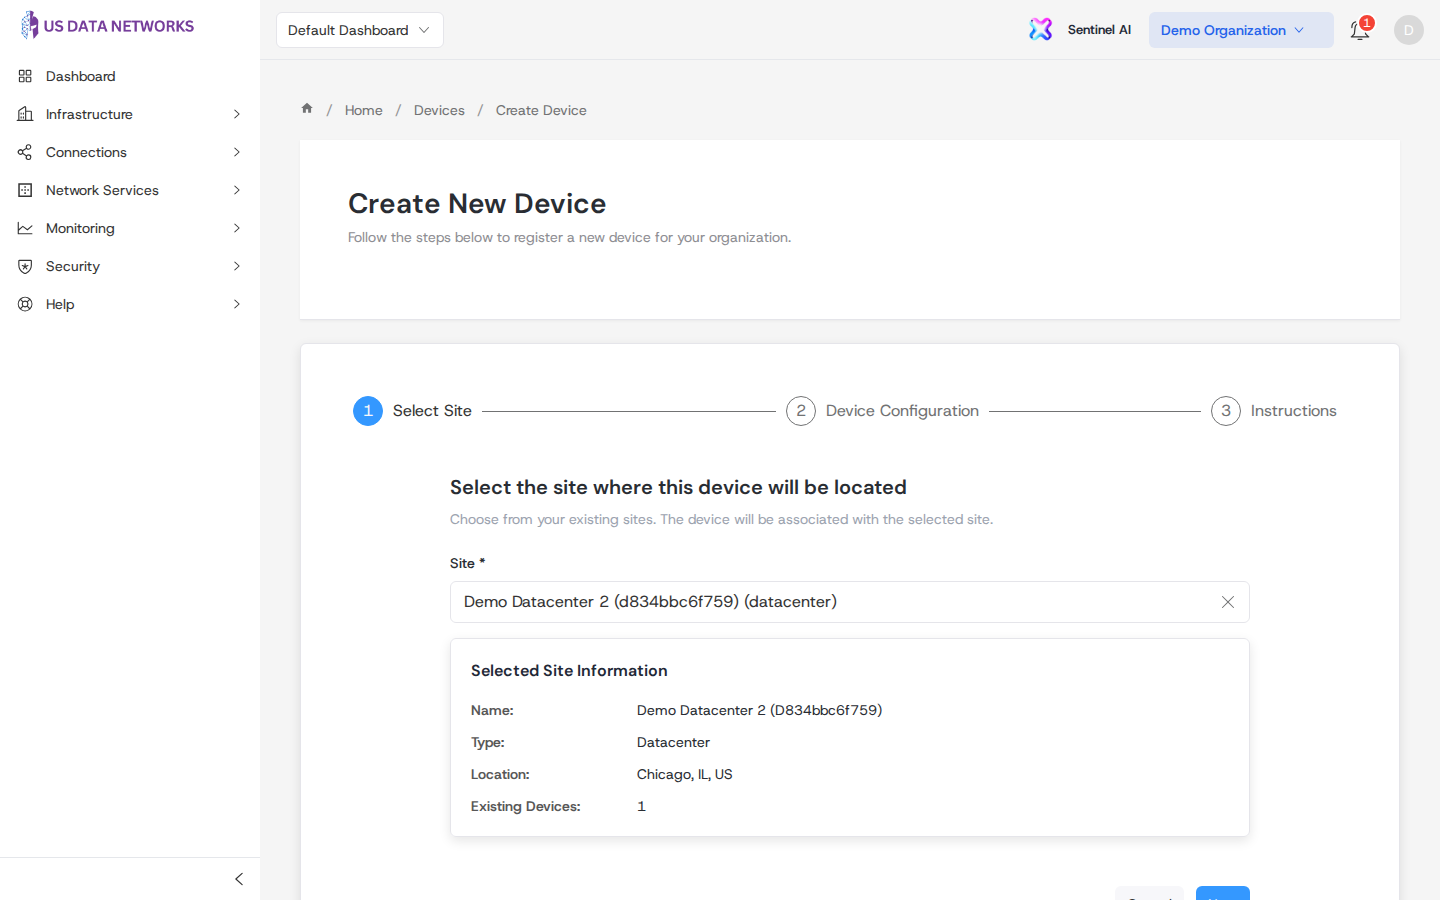
Step 1: Select a site
Choose the target site from the list. When a site is selected, a short summary appears (name, type, location, existing device count). Click Next to continue.
- Non-cloud sites — after Next, you skip the configuration step and land directly on physical setup instructions.
- Cloud sites — after Next, you configure cloud provider (AWS, Azure, or GCP), max uses for the bootstrap token (use 0 for unlimited where supported), expiry in hours (up to 30 days), and an optional label for the token. Next generates a bootstrap token and a user-data style script for manual deployment.
If your organization has linked cloud accounts, the cloud step may show a One-Click Deploy banner with a shortcut to Integrations for portal-driven deployment instead of copying scripts by hand.
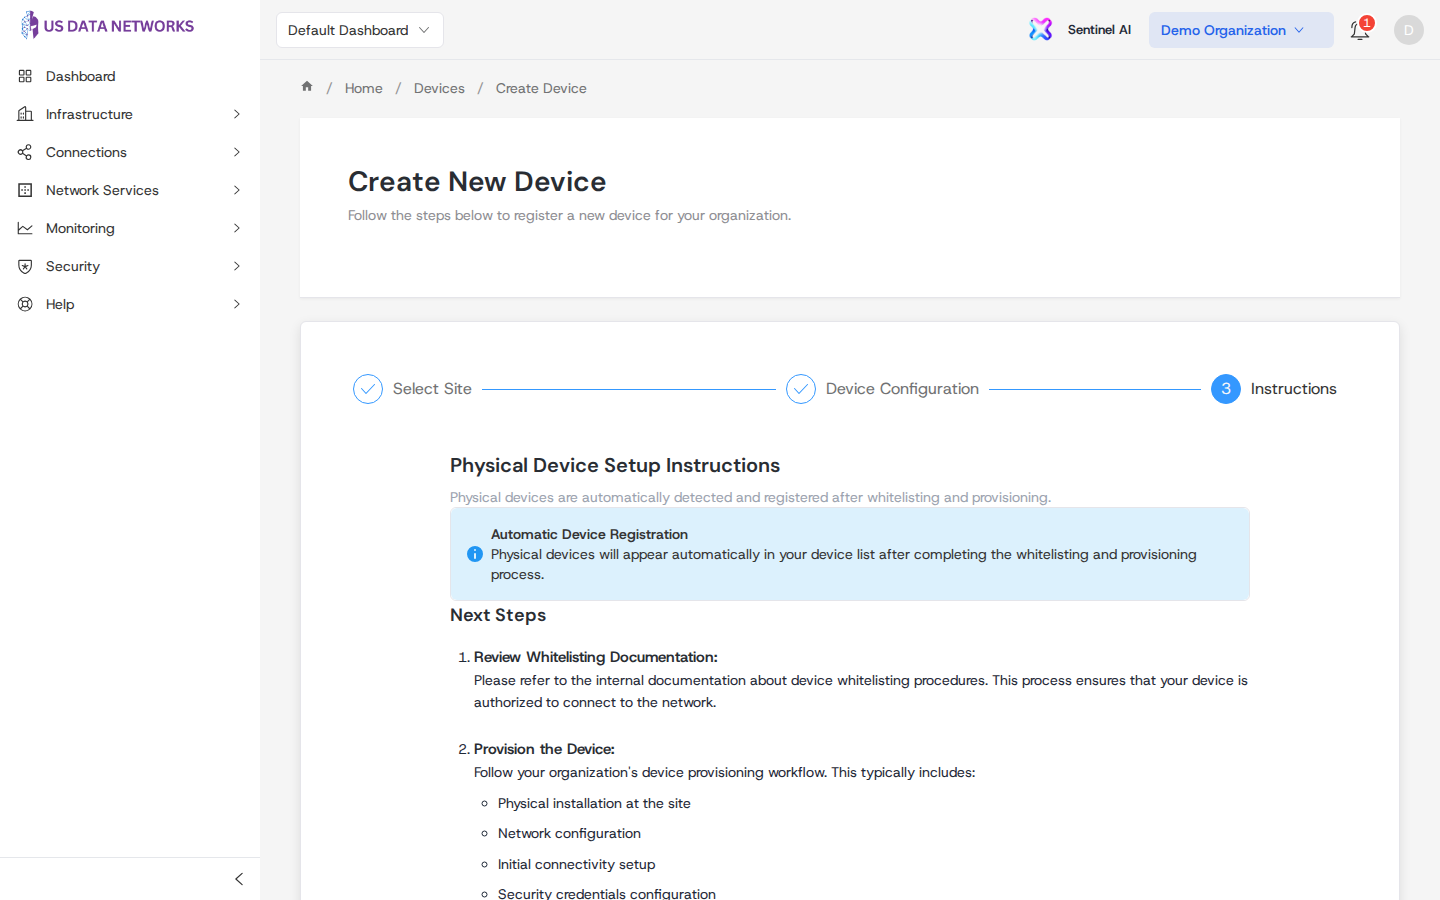
Step 3: Instructions (physical sites)
For physical locations, the portal explains that devices are expected to appear automatically after whitelisting and provisioning according to your process. Use Device whitelists and the whitelist wizard in the portal to pre-authorize serial numbers and optional interface mappings. Follow your internal runbooks for installation, connectivity, and credentials; once the device is authorized and online, it should show up in the Devices list (often within roughly 15–30 minutes, depending on connectivity).
Step 3: Instructions (cloud sites)
For cloud sites, after a successful token request you will see:
- The bootstrap token (copy once; it may not be shown again).
- A user-data / startup script tailored to the provider, which you paste into your launch configuration (EC2 user data, Azure custom data, GCP startup script, or equivalent automation).
Treat tokens like secrets: restrict who can see them and rotate or expire them according to policy.
After registration
Return to Devices to confirm the device appears, open its detail page for health and tabs, and use list actions for ongoing changes. For hardware you still need from a partner, see Requesting devices from an MSP.